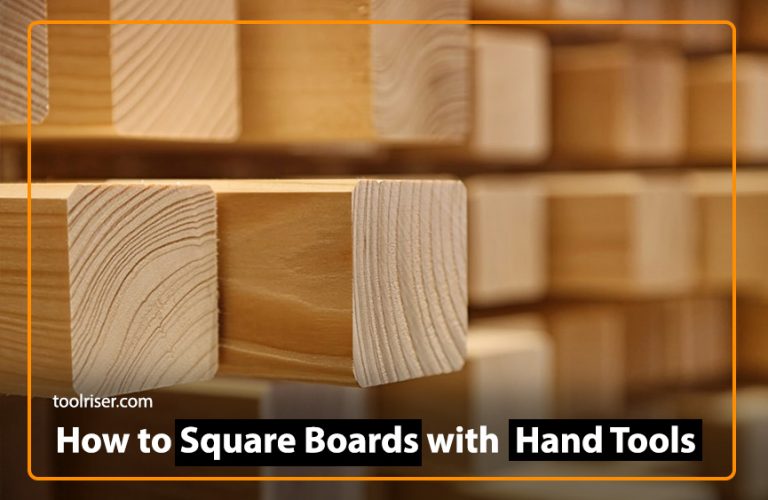
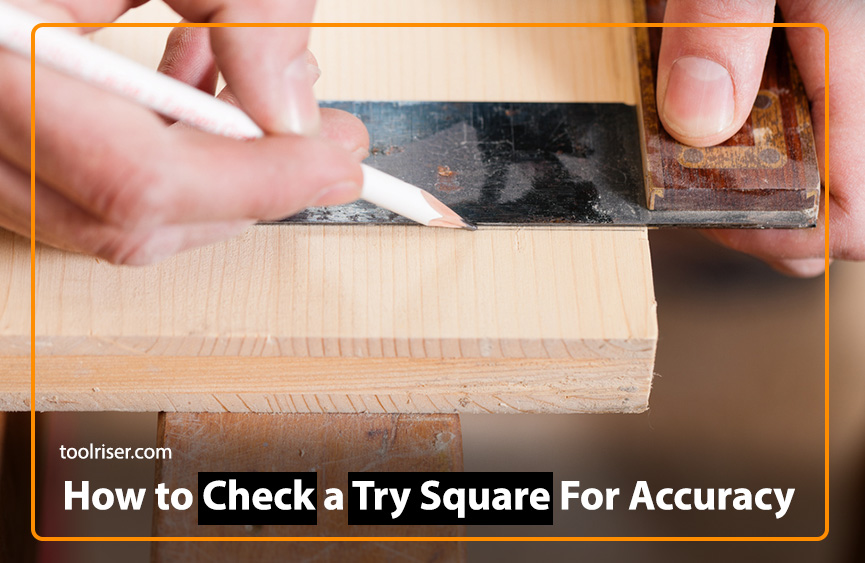
What is a Try Square ? How to Check for Accuracy: A Complete Guide 2024
In woodworking and carpentry, precision is one of the most important aspect. Every cut, joint, and measurement must be accurate to ensure the final product is sturdy and aesthetically pleasing. One indispensable tool for achieving this precision is the try square. Used for checking the squareness of edges and marking perpendicular lines, the try square is a fundamental tool in any woodworker’s arsenal. However, to rely on it, it must be accurate.
In this guide, we’ll explore what a try square is, how to check it for accuracy, and the tools and materials required for the process.
What is a Try Square ?
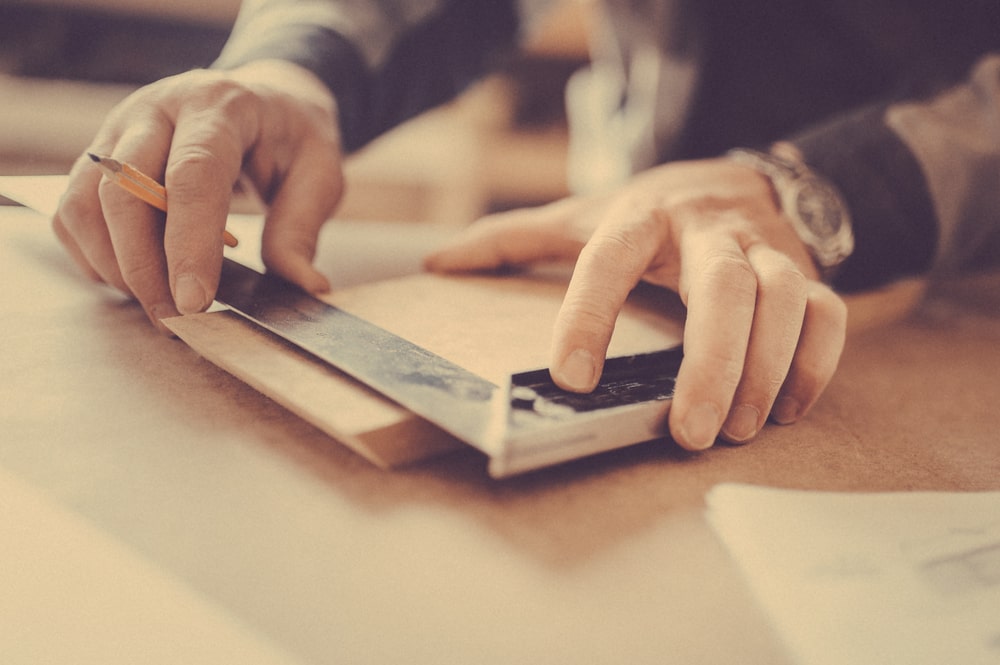
A try square is a woodworking tool used for marking and checking 90-degree angles on pieces of wood. It is considered one of the essential tools for any woodworker.
The try square consists of two main parts:
- The blade (also known as the beam or tongue) is a long, straight edge that is usually made of steel.
- The stock (or handle) is the thicker piece that is perpendicular to the blade and provides a grip for the user. The stock can be made of wood, metal, or plastic.
Common Uses of Try Square
Here are some of the common uses of a try square:
- Marking and cutting square lines on wood
- Checking to see if two surfaces are perpendicular to each other
- Setting up other woodworking tools, such as saws and jigs, to ensure they are cutting at a 90-degree angle
Steps to Check Try Square for Accuracy
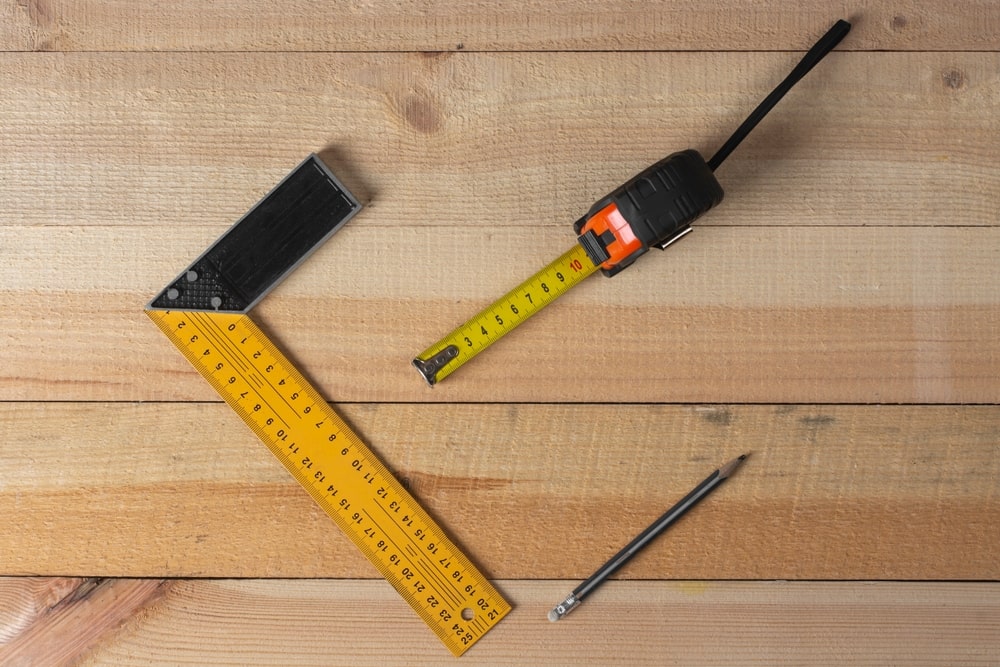
- Gather Necessary Tools and Materials
- Check the Blade and Stock for Flatness
- Inspect the Right Angle
- Verify the Accuracy with a Known Reference
- Adjust if Necessary
Step by Step Detailed Explanation
1. Gather Necessary Tools and Materials
- Try Square
- Flat Surface
- Precision Measuring Tool (e.g., Vernier Caliper)
- Known Reference Square (Optional)
- Light Source (Optional)
2. Check the Blade and Stock for Flatness
- Place the try square on a flat surface.
- Check if both the blade and stock make full contact with the surface.
- Use a precision measuring tool to check for any gaps between the blade/stock and the surface.
- Ensure there are no visible bends or warping in the blade or stock.
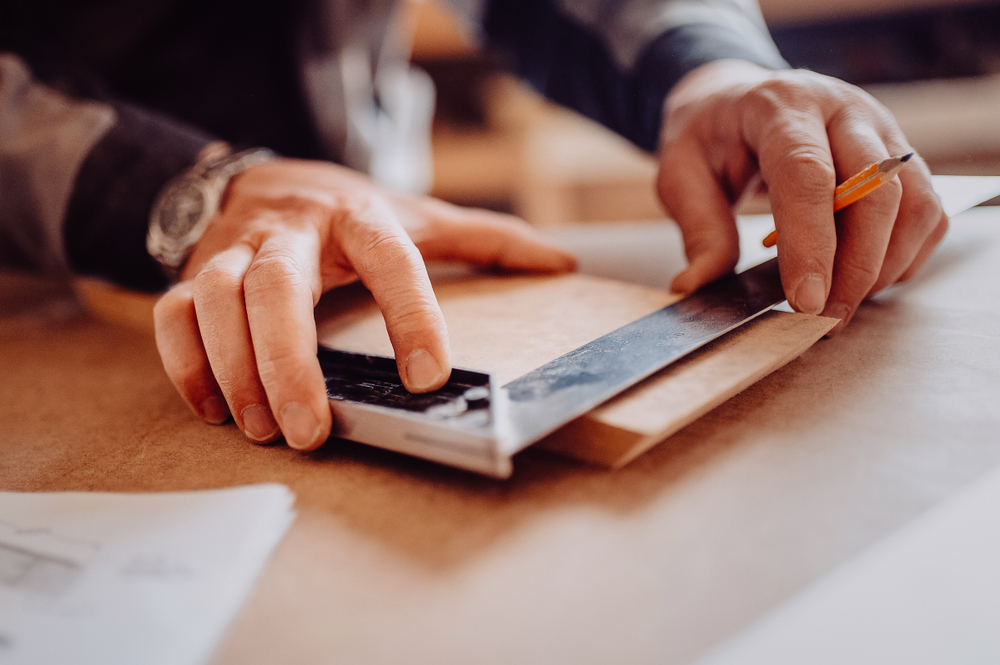
3. Inspect the Right Angle
- Place the try square against a straight edge.
- Ensure the blade and stock form a perfect 90-degree angle with the straight edge.
- Look for any light gaps between the try square and the straight edge, indicating misalignment.
4. Verify the Accuracy with a Known Reference
- If available, compare the try square with a known accurate reference square.
- Place both squares against each other, ensuring they align perfectly.
- Check for any deviations at various points along the blade and stock.
5. Adjust if Necessary
- If the try square is found to be inaccurate, adjustments may be needed.
- Some try squares have adjustable blades that can be loosened and realigned.
- For fixed try squares, minor adjustments may be made by carefully bending the blade or stock.
- Ensure to recheck the accuracy after any adjustments are made.
Also Read:- How to Sharpen a Tenon Saw in 5 Mins: A Woodworking Guide
Also Read:- How to Sharpen Wood Chisel: Step by Step Complete Guide
Frequently Asked Questions (FAQs):
Q. What is a try square?
Ans. A try square is a woodworking tool consisting of a metal blade (usually steel) attached at a right angle to a wooden or metal stock. It is used to check the squareness of edges and mark perpendicular lines accurately.
Q. Why is it important to check a try square for accuracy?
Ans. Ensuring the accuracy of a try square is essential to maintain precision in woodworking and carpentry. Inaccurate squares can lead to skewed cuts, misaligned joints, and ultimately compromise the quality of the finished product.
Q. Can I use any flat surface to check the accuracy of a try square?
Ans. While any flat surface can be used, it’s preferable to use a precision-ground surface like a granite slab or a machinist’s surface plate for the most accurate assessment.
Q. How often should I check the accuracy of my try square?
Ans. It’s a good practice to check the accuracy of your try square regularly, especially if it’s subjected to heavy use or potential damage. Some woodworkers check their squares for accuracy before starting each new project
Q. Can I recalibrate a try square if it’s found to be inaccurate?
Ans. Depending on the type of try square, some models allow for adjustments, while others may not. Adjustable try squares can often be realigned by loosening screws and making minor adjustments.
Q. Is it worth investing in a high-quality try square?
Yes, investing in a high-quality try square is recommended for accuracy and work performance. Cheaper or low-quality squares may be less accurate and prone to wear and damage, leading to frequent replacements or compromised workmanship.
Final Thoughts
Wrapping up the Final Thoughts, becoming great at woodworking means paying close attention to details and being very precise. The try square is a really important tool for getting things just right. It helps guide your cuts and make sure everything fits together perfectly. It all starts with a simple check to make sure your try square is accurate. As one experienced carpenter once said, even a worn-out try square tells stories of lots of projects and careful work. So,always remember, behind every masterpiece lies the steadfast reliability of a well-checked and accurate try square.