How to Hand Cut Dovetail Joints: A Complete Guide 2024
If you’re a woodworking professional or someone who appreciates fine craftsmanship, mastering the art of hand-cutting dovetail joints can elevate your woodworking projects to a whole new level. Dovetail joints are renowned for their strength, durability, and aesthetic appeal, making them a preferred choice for joining wood pieces in a better way.
In this guide, we’ll explore everything you need to know about hand-cutting dovetail joints, from the basics to the advanced techniques needed for precise woodworking.
What are Dovetail Joints?
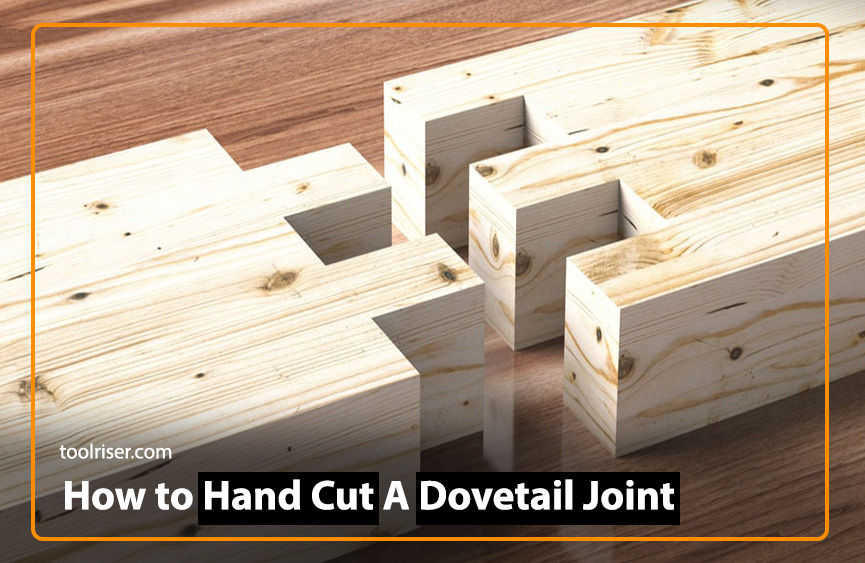
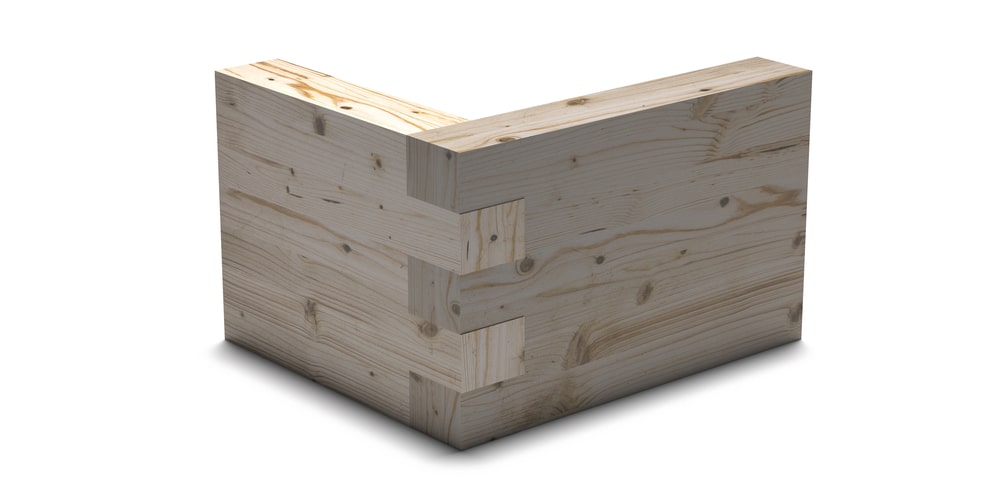
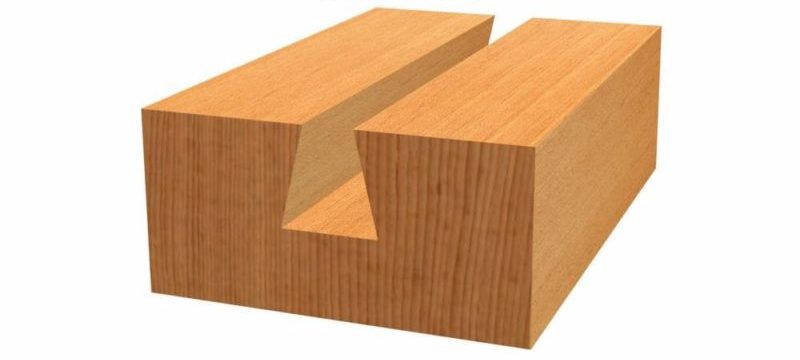
Dovetail joints consist of two parts: pins and tails. The pins are the projections on one end of a wood piece, while the tails are the corresponding recesses on the other end. When assembled, the pins and tails interlock tightly, creating a strong bond without the need for additional fasteners.
Types of Dovetail Joints
There are several variations of dovetail joints, including through dovetails, half-blind dovetails, and full-blind dovetails. Each type has its own unique applications and aesthetic appeal, ranging from visible joints in traditional furniture to concealed joints in high-end cabinetry.
Tools Required for Hand-Cutting Dovetail Joints
Before embarking on the process of hand-cutting dovetail joints, it’s essential to gather the necessary tools for the task at hand.
- Essential Tools
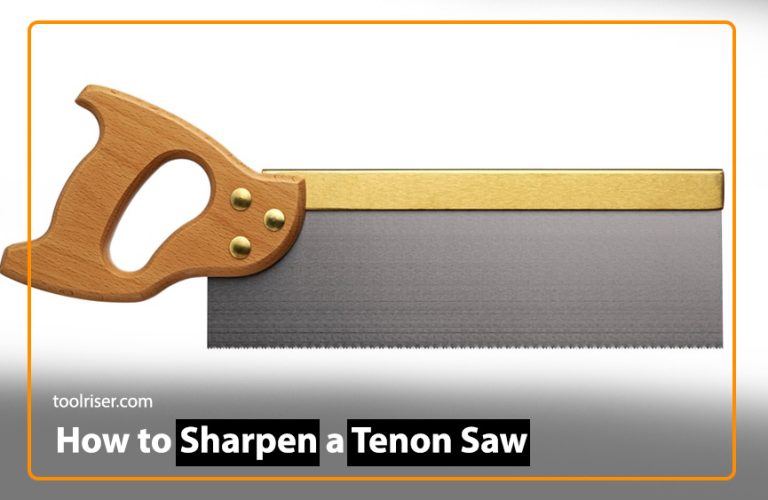
- Dovetail Saw
- Marking Gauge
- Chisels
- Mallet
- Square
- Optional Tools for Precision
- Dovetail Jig
- Dovetail Marker
- Router with Dovetail Bit
Step Guide to Hand cut a Dovetail Joint
The key to a successful dovetail joint lies in good preparation of the wood pieces involved.
Choosing the Right Wood
Select hardwoods such as oak, maple, or walnut for optimal strength and durability. Ensure that the wood is free from knots, cracks, and other imperfections that could compromise the integrity of the joint.
Preparing the Wood Surface
Plane or sand the wood surface to achieve a smooth, flat finish, ensuring proper alignment during the cutting and assembly process.
Marking Out the Dovetails
Accurate marking is crucial for achieving tight-fitting dovetail joints.
Using a Dovetail Template
A dovetail template or jig can help maintain consistency and precision in marking out the dovetails on both wood pieces.
Measuring and Marking
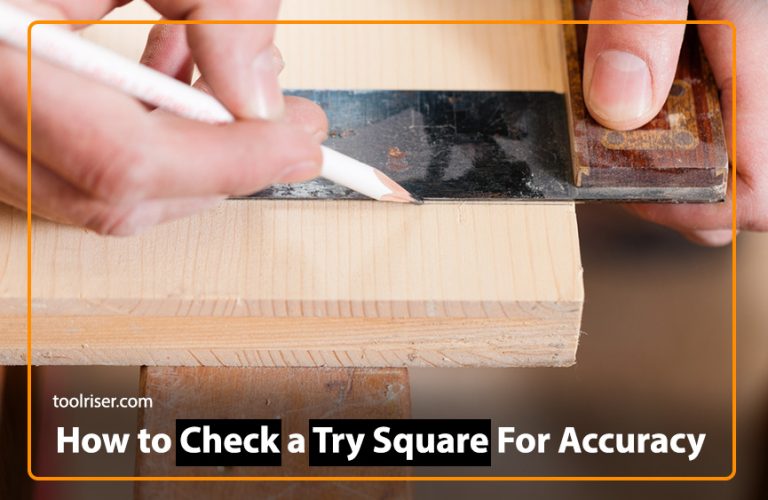
Use a marking gauge and square to transfer the measurements from the template onto the wood surface, ensuring uniformity in the size and spacing of the dovetails.
Cutting the Pins
Precision cutting of the pins is essential for achieving a snug fit with the tails.
Techniques for Precision Cuts
Hold the dovetail saw at a slight angle and cut along the marked lines, staying within the boundaries to avoid compromising the integrity of the joint.
Using a Backsaw
A backsaw with fine teeth is ideal for making clean, precise cuts without splintering or tear-out.
Cutting the Tails
Cutting the tails requires careful attention to detail to ensure proper alignment with the pins.
Maintaining Accuracy
Follow the marked lines precisely when cutting the tails, adjusting the angle of the saw as needed to achieve the desired slope.
Fine-tuning the Angles
Use a chisel to refine the angles of the tails, ensuring a snug fit with the pins for a seamless joint.
Chiselling Out Waste
After cutting the pins and tails, remove the waste material to prepare the wood surfaces for assembly.
Using a Chisel for Cleanup
Carefully chisel away the waste material, working gradually to avoid damaging the surrounding wood fibres.
Refining the Fit
Test the fit of the pins and tails periodically, making any necessary adjustments to achieve a tight, gap-free joint.
Testing and Adjustments
Before proceeding with assembly, it’s essential to dry-fit the joints and make any final adjustments as needed.
Dry Fitting the Joints
Assemble the wood pieces without glue to ensure that the joints fit together snugly, making any necessary alterations to achieve a perfect fit.
Making Necessary Adjustments
Use a chisel or fine-grit sandpaper to adjust the fit of the joints as needed, ensuring smooth, even contact between the surfaces.
Gluing and Clamping
Once satisfied with the fit of the dovetail joints, it’s time to proceed with gluing and clamping the wood pieces together.
Applying Wood Glue
Apply a thin, even layer of wood glue to the mating surfaces of the pins and tails, ensuring complete coverage for a strong bond.
Clamping for Even Pressure
Use clamps to apply even pressure across the joints, ensuring that the wood pieces are held firmly in place while the glue sets.
Final Touches
With the joints assembled and glued, it’s time to add the finishing touches to your woodworking project.Before the glue dries completely, use a damp cloth or scraper to remove any excess glue from the wood surface, preventing unsightly drips or stains.
Benefits of Hand-Cutting Dovetail Joints
Hand-cutting dovetail joints offer numerous benefits beyond just structural integrity.
1. Strength and Durability
Dovetail joints are renowned for their exceptional strength and are capable of withstanding the test of time. They provide a long-lasting and reliable connection between wood pieces.
2. Aesthetic Appeal
In addition to their functional advantages, dovetail joints also enhance the aesthetic appeal of woodworking projects. The beautiful interlocking pattern of the pins and tails adds visual interest and craftsmanship to furniture pieces,
Common Mistakes to Avoid
While hand-cutting dovetail joints can be a rewarding task, it’s essential to be aware of common pitfalls that can compromise the quality of the joints.
1. Overlooking Precision in Cuts
One of the most common mistakes in hand-cutting dovetail joints is failing to maintain precision in the cutting process. Even minor deviations from the intended angles or dimensions can result in ill-fitting joints that compromise the structural integrity of the piece.
2. Not Testing Fit Before Gluing
Another common mistake is failing to dry fit the joints before applying glue. Rushing to glue the joints together without ensuring a proper fit can result in misaligned or poorly fitting joints that are difficult to correct once the glue has dried.
Read Also:- A Beginner’s Guide 2024: How to Cut Metal with a Hacksaw
Read Also:- How to Remove Rust From Woodworking Tools
FAQs (Frequently Asked Questions)
Q: Are dovetail joints stronger than other types of joints?
A: Yes, dovetail joints are renowned for their exceptional strength and durability, making them ideal for applications where structural integrity is paramount.
Q: Can dovetail joints be cut by hand without specialized tools?
A: While specialized tools such as dovetail saws and chisels are commonly used for cutting dovetail joints, it is possible to cut them by hand with basic woodworking tools, although achieving precision may be more challenging.
Q: What types of wood are best suited for dovetail joints?
A: Hardwoods such as oak, maple, and walnut are preferred for dovetail joints due to their strength and durability. However, softer woods can also be used with proper reinforcement and care.
Q: How long does it take to cut dovetail joints by hand?
A: The time required to hand-cut dovetail joints depends on various factors, including the complexity of the joint, the skill level of the woodworker, and the tools available. Simple joints may be completed in a matter of hours, while some joints may take days or even weeks to perfect.
Q: Can dovetail joints be used for outdoor furniture?
A: While dovetail joints are suitable for indoor furniture where they are protected from the elements, they may not be ideal for outdoor furniture exposed to moisture and weathering. In such cases, alternative joinery methods and materials that are more resistant to outdoor conditions may be preferable.
Conclusion
Becoming really good at hand-cutting dovetail joints is a sign of being great at woodworking. If you know how to dovetail joints work and use the right techniques for cutting and putting them together, you can make furniture that’s both strong and beautiful. If you’re a pro at woodworking or just starting out, hand-cutting dovetail joints is a fun challenge to accept that ends with impressive furniture pieces.

