How to Square Boards with Woodworking Hand Tools
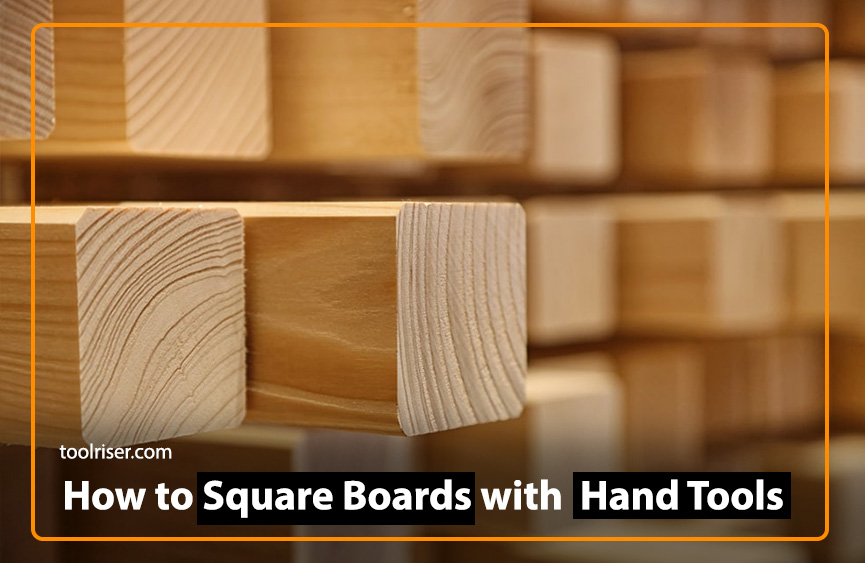
Woodworking is an age-old craft that demands precision, patience, and a keen eye for detail. One fundamental aspect of woodworking is to square boards, a process essential for creating flat, straight, and accurately sized pieces of wood. While power tools offer efficiency, mastering the art of squaring boards with woodworking hand tools not only hones your skills but also allows for a deeper connection with the craft. In this guide, we’ll walk you through the step-by-step process of squaring boards using traditional hand tools, ensuring your woodworking projects start on the right foot.
When working on woodworking projects, whether it’s crafting furniture, cabinetry, or smaller items, having squared boards forms the foundation for precise assembly. A board that is perfectly squared ensures that joints fit together tightly, angles match up correctly, and the finished piece stands strong and straight. Achieving this level of precision begins with the right tools and techniques.
In this guide, we’ll walk you through the step-by-step process of squaring boards using traditional hand tools, ensuring your woodworking projects start on the right foot.
Tools Needed to Square Wooden Boards
To square boards effectively, you’ll need a handful of essential hand tools. These include:
1. Hand Plane
A popular tool used for shaping and smoothing wood surfaces. Look for a quality hand plane with adjustable blades for fine-tuning.
2. Marking Gauge
Critical for marking consistent lines along the length or width of the board, ensuring uniformity in cuts and shaping.
3. Chisels
Used for precise carving and cutting, chisels come in various sizes to accommodate different woodworking tasks.
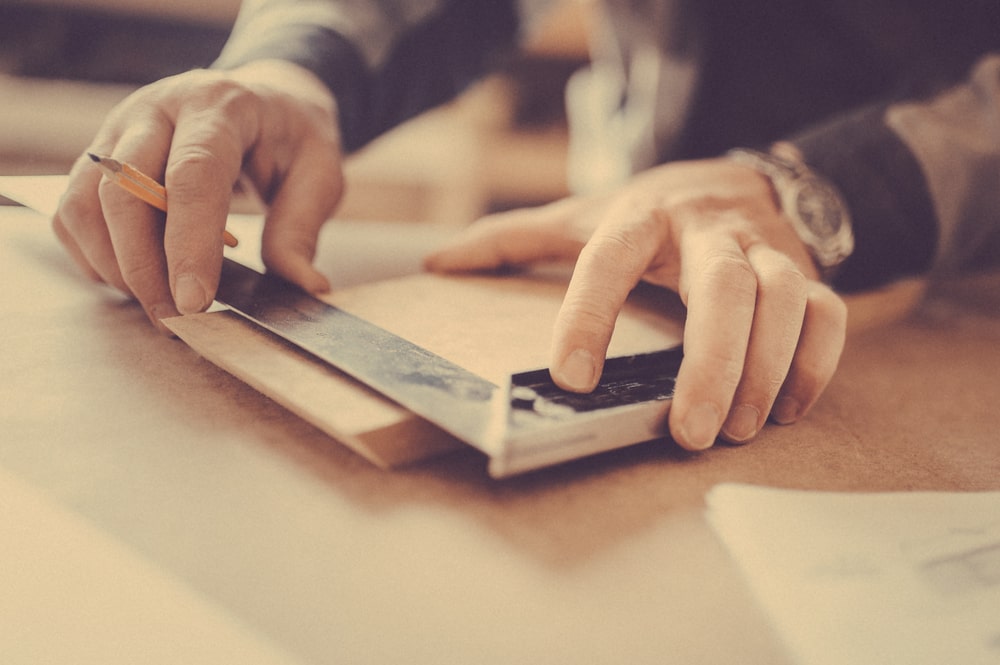
4. Straight Edge
An indispensable tool for checking the flatness of boards and ensuring they are perfectly squared.
Before diving into squaring boards, proper preparation is key. Begin by selecting high-quality wood appropriate for your project. Ensure your workspace is well-lit and free from clutter, with ample room to maneuver. Additionally, always prioritize safety by wearing protective gear, such as safety glasses and gloves, to prevent injuries.
Step-by-Step Process for Squaring Boards
Now, let’s walk through the step-by-step process of squaring boards using woodworking hand tools:
1. Marking the Board
Start by marking reference lines along the edges of the board using a marking gauge. These lines will serve as guides during the squaring process, ensuring consistency and accuracy.
2. Using Hand Planes for Initial Leveling
Begin by using a hand plane to remove any high spots or imperfections on the surface of the board. Work diagonally across the grain to level the surface gradually, taking care not to remove too much material at once.
3. Fine-tuning with Hand Planes and Chisels
Once the board is roughly leveled, switch to finer grits of sandpaper or finer blade settings on your hand plane to achieve a smoother surface. Use chisels to address any remaining irregularities or imperfections, working slowly and carefully to maintain accuracy.
4. Checking for Accuracy
Periodically check the board’s flatness and squareness using a straight edge and marking gauge. Make any necessary adjustments to ensure the board meets your desired specifications.
Tips for Achieving Precision
To achieve the highest level of precision when squaring boards with woodworking hand tools, consider the following tips:
Maintain Sharp Tools:
Sharp tools are essential for clean cuts and smooth surfaces. Regularly sharpen your hand planes and chisels to ensure optimal performance.
Consistent Pressure and Technique:
Apply consistent pressure and maintain a steady hand when using hand planes and chisels. Avoid rushing the process, as patience is key to achieving precise results.
Common Mistakes to Avoid
While squaring boards with woodworking hand tools, be mindful of the following common mistakes:
Rushing the Process:
Squaring boards requires patience and attention to detail. Rushing through the process can result in inaccuracies and compromised craftsmanship.
Neglecting Proper Alignment:
Ensure the board is properly aligned and secured before beginning the squaring process. Failure to do so can lead to skewed cuts and uneven surfaces.
Finishing Touches
Once the board is squared to perfection, it’s time for the finishing touches. Begin by sanding the surface with progressively finer grits of sandpaper to achieve a smooth finish. Finally, apply a suitable finish, such as varnish or wood oil, to protect the wood and enhance its natural beauty.
FAQ’s
1. How long does it take to square a board by hand?
Ans. Squaring a board by hand can vary in time depending on factors such as the size of the board, the wood species, and your skill level. On average, it may take anywhere from 30 minutes to an hour for a moderately sized board.
2. Can I square boards with power tools instead?
Ans. While power tools offer efficiency, squaring boards with hand tools allows for greater precision and control, making it preferable for many woodworking enthusiasts.
3. What is the importance of squaring boards in woodworking?
Squaring boards is essential in woodworking as it forms the foundation for accurate joinery, ensuring that pieces fit together seamlessly and projects turn out structurally sound and aesthetically pleasing.
4.How do I know if a board is squared properly?
Ans. You can use a straight edge or a combination square to check for flatness and squareness along the length and width of the board. Additionally, visual inspection and running your hand along the surface can help detect any irregularities.
5. What types of wood are best for woodworking projects?
The best type of wood for woodworking projects depends on various factors such as the intended use, desired aesthetics, and availability. Common choices include hardwoods like oak, maple, and cherry, as well as softwoods like pine and cedar.
Read More:- How to Hand Cut Dovetail Joints: A Complete Guide 2024
Read More:- How to Make a Wooden Ladder: Best Informative Guide 2024
Mastering the art of squaring boards with woodworking hand tools is a rewarding endeavor that enhances your woodworking skills and craftsmanship. By following the step-by-step process outlined in this guide and incorporating tips for precision and accuracy, you’ll be well-equipped to tackle woodworking projects with confidence and achieve professional-quality results.
Let us share an interesting story,
In a simple workshop, where the smell of fresh wood fills the air and you can hear hand planes smoothly sliding across the surface, there’s an old workbench in the corner. It’s old but strong.
One day, a young person comes into the workshop, excited to learn woodworking secrets. The master craftsman teaches them about patience, accuracy, and hard work. Together, they start making furniture from rough wood.
As time goes by, the apprentice gets better and feels more confident. Every time they use a hand plane or chisel, they understand wood better.
Then, one day, the apprentice finishes their own piece of furniture. Running their hand over the smooth surface, they feel proud and happy. It’s the best feeling ever!
In profession of woodworking, getting your boards perfectly square is more than just a skill – it’s about discovering yourself and your craft. So, grab your tools, sharpen them well, and let your imagination take flight. The woodworking world is waiting for you to shape it with your hands.