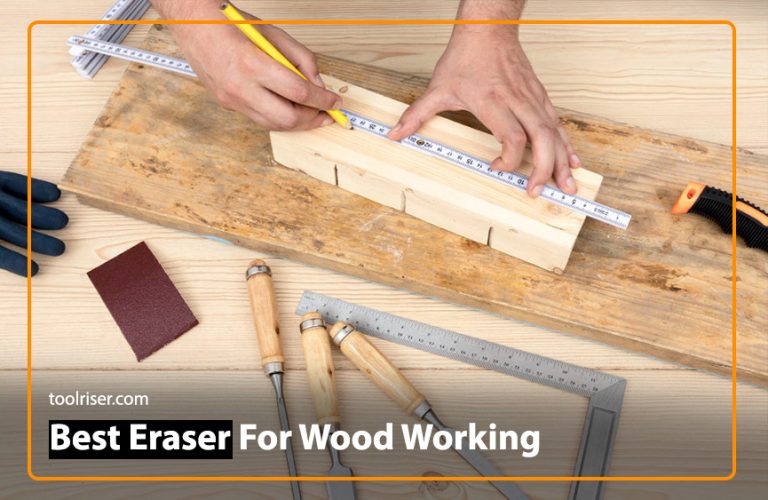
How to Make a Mortise and Tenon Joint: A Step by Step Guide 2024

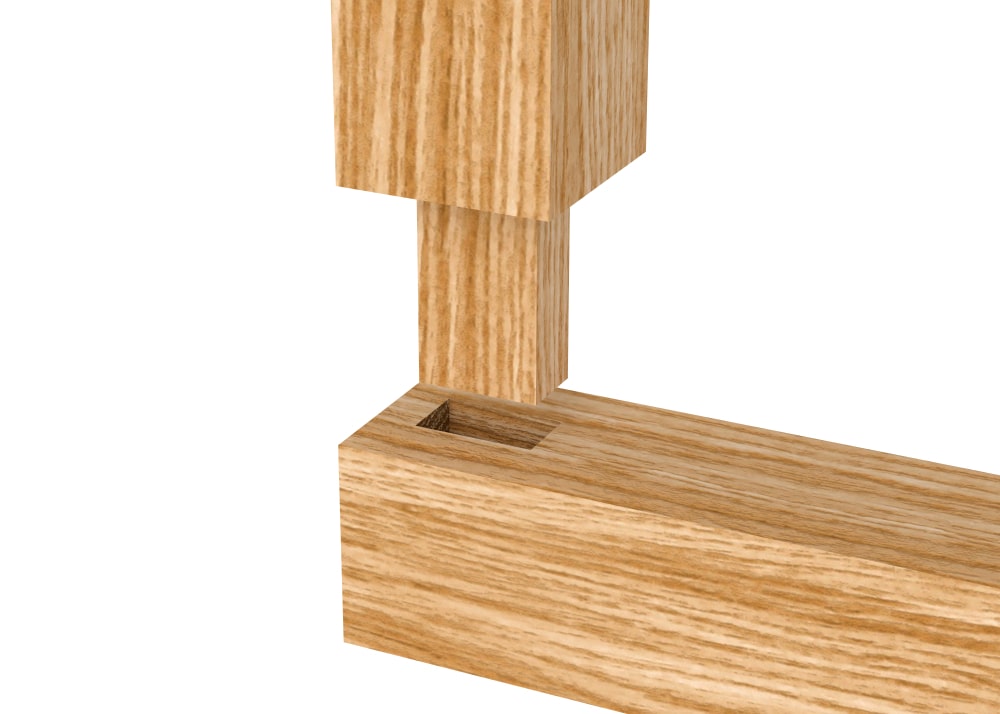
The mortise and tenon joint is one of the oldest and strongest woodworking joints, since thousands of years. It’s a classic method used for joining two pieces of wood at a right angle, providing both strength and durability to the structure. In this comprehensive guide, we’ll walk you through the process of creating a mortise and tenon joint from start to finish.
What is a Mortise?
A mortise is a rectangular slot or hole cut into one piece of wood. It’s usually created using a chisel or a mortising machine and serves as the female part of the joint.
What is a Tenon?
A tenon is a protruding tongue or piece of wood that fits perfectly into the mortise. It is typically cut at the end of one piece of wood.
Tools and Materials Required
To create a mortise and tenon joint, you’ll need basic woodworking tools such as a
- Chisel
- Saw
- Marking gauge
- Mallet
- Clamps
- Wood glue
While almost any type of wood can be used for a mortise and tenon joint, hardwoods like oak, maple, and cherry are preferred for their strength and durability.
Step-by-Step Guide to Making a Mortise and Tenon Joint

Layout: First, carefully mark out the mortise and tenon on your wood. It’s common practice to make the mortise one-third the thickness of the workpiece.
Cutting the Mortise: There are a couple of ways to approach this. You can use a drill press to drill a series of holes within the mortise outline, then clean out the waste with chisels. Alternatively, if you have a router table, you can use a router jig to create the mortise.
Paring the Mortise: Use sharp chisels to carefully pare the sides of the mortise to achieve a clean and precise fit.
Shaping the Tenon: Cut the tenon to its final dimensions, ensuring it fits snugly but slides smoothly into the mortise. You can use a saw and chisels for this step.
Dry fitting: Before gluing, always perform a dry fit to ensure everything lines up perfectly. Make any slight adjustments with your chisels if needed.
Glue and Clamp: Apply glue to both the tenon and the mortise, then assemble the joint and clamp it securely. Wipe away any excess glue squeeze-out with a damp rag.
Types of Mortise and Tenon Joints
Through Mortise and Tenon
In a Through mortise and tenon joint, the tenon passes completely through the mortise, creating a visible joint on both sides of the wood.
Blind Mortise and Tenon
A Blind mortise and tenon joint is similar to a through joint, but the tenon only extends partially into the mortise, hiding the joint from view.
Tips for Success in making Perfect Mortise and Tenon Joints
- Sharpness is Key: Ensure your chisels and saws are incredibly sharp. This will give you clean cuts and prevent tear-out in your wood.
- Test-Fit Before Final Assembly: Before gluing or fastening the joint, always test-fit the pieces together to ensure everything lines up correctly.
- Take Your Time: Don’t rush the process. Precise marking and careful chisel work are essential for a strong joint.
- Start with Scrap Wood: Before tackling your final project, practice cutting mortise and tenon joints on some scrap wood. This will help you get comfortable with the technique.
Advantages of Using Mortise and Tenon Joints
Strength and Durability
Mortise and tenon joints are incredibly strong and can withstand heavy loads, making them ideal for structural applications.
Aesthetically Pleasing
In addition to their strength, mortise and tenon joints also add a touch of elegance to woodworking projects, enhancing their overall appearance.
Read More:- How to Hand Cut Dovetail Joints: A Complete Guide 2024
Read Also:- What is Wood Scraper ? How to Sharpen a Wood Scraper: Guide 2024
FAQ’s
1. How do I know what size mortise and tenon to use?
Ans. The size of the mortise and tenon depends on the dimensions of your wood pieces. Generally, aim for a tenon that’s one-third the thickness of the wood and a mortise slightly larger than the tenon for a snug fit.
2. Can I make a mortise and tenon joint without power tools?
Ans. Absolutely! While power tools can make the process faster, you can achieve excellent results using traditional hand tools like chisels and saws.
3. What type of glue should I use for a mortise and tenon joint?
Ans. For woodworking projects, it’s best to use a high-quality wood glue specifically designed for strong bonds. Look for options labeled as “wood glue” or “carpenter’s glue.”
4. Are there any alternatives to a mortise and tenon joint?
Ans. While mortise and tenon joints are incredibly strong, alternatives like dowels or biscuits can also be used for joining wood pieces together.
5. Can I use a mortise and tenon joint for outdoor projects?
Ans. Yes, you can use a mortise and tenon joint for outdoor projects, but be sure to select weather-resistant wood and apply a suitable outdoor finish to protect the joint from the elements.
Final Words
Mastering the art of making a mortise and tenon joint requires patience, practice, and precision. By following this step-by-step guide and by using the tips provided, you can unlock a world of woodworking possibilities and create strong, durable joints that will stand the test of time.
Like a skilled carpenter crafting wood, every careful cut shows dedication and skill. So, get your tools, enjoy the challenge, and start woodworking!