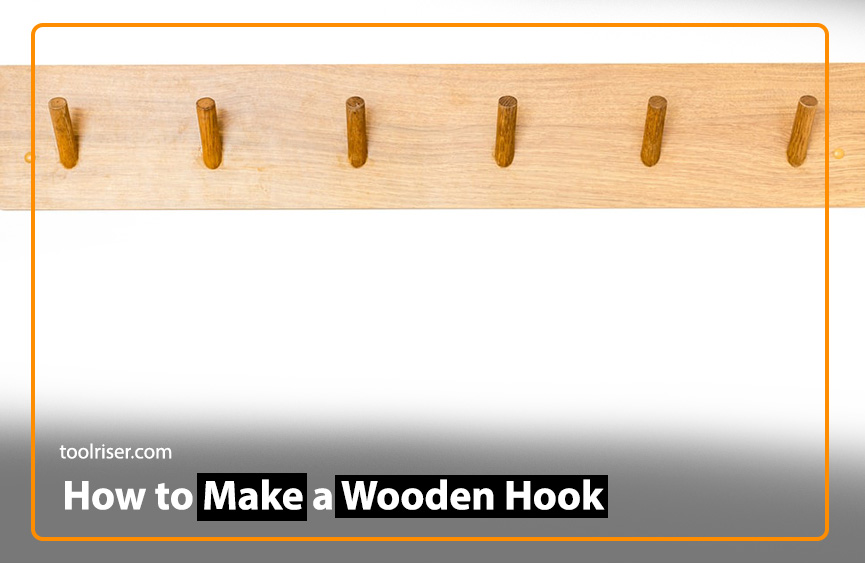
How to Make a Wooden Hook: A Complete Guide 2024
Wooden hooks are versatile and practical additions to any space, offering functionality with a touch of rustic charm. Whether you’re looking to hang coats by the door or display decorative items on the wall, crafting your own wooden hook can be a rewarding DIY project. In this guide, we’ll walk you through the step-by-step process of creating a wooden hook from scratch, from selecting the right materials to adding the finishing touches.
Materials Required
Before you begin, gather the following materials:
- A piece of sturdy wood (e.g., oak, maple, or walnut)
- Pencil and ruler for marking measurements
- Carving knife or Chisel
- Sandpaper of varying grits (coarse to fine)
- Protective gear (gloves, goggles, and dust mask)
- Sealant or wood finish of your choice
Tools Needed
You’ll also need the following tools:
Hand saw or jigsaw for cutting the wood to size
Clamps to secure the wood while carving
Wood carving gouges or chisels for shaping
Sanding blocks or power sander for smoothing
Drill and screws for installation
Steps to Make a Wooden Hook
We discuss complete step by step process of hook making process.
Preparing the Wood
Start by selecting a suitable piece of wood for your hook. Consider the wood’s strength and durability, as well as its aesthetic qualities. Once you’ve chosen the perfect piece, use a hand saw or jigsaw to cut it to your desired size and shape.
Next, use a pencil and ruler to mark out the design of your hook on the wood. Take your time with this step, ensuring precise measurements and proportions.
Designing the Hook
When designing your hook, think about its intended use and the overall look you want to achieve. Whether you prefer a simple, minimalist design or something more intricate, sketch out your ideas on the wood before you begin carving.
Consider factors such as the hook’s length, thickness, and curvature. Aim for a design that is both functional and visually appealing. Always prefer functionality and aesthetic appearance of the hook.
Carving the Hook
With your design in mind, begin carving the wood using a carving knife or chisel. Work slowly and carefully, removing small amounts of wood at a time to avoid mistakes.
Pay attention to the finer details as you carve, refining the shape and smoothing out any rough edges. Take breaks as needed to rest your hands and evaluate your progress.
Sanding and Smoothing
Once you’ve carved the basic shape of your hook, it’s time to sand and smooth the surface. Start with a coarse grit sandpaper to remove any remaining rough spots, then gradually work your way up to finer grits for a polished finish.
Be thorough in your sanding, paying special attention to the curves and edges of the hook. Aim for a smooth, seamless surface that is free of imperfections.
Adding Finishing Touches
With the wood sanded to perfection, you can now add any finishing touches to your hook. Consider applying a sealant or wood finish to protect the wood and enhance its natural beauty.
You may also choose to add decorative elements such as carvings, engravings, or paint to personalize your hook further. Get creative and let your imagination run wild!
Installing the Hook
Once your hook is complete, it’s time to install it in its intended location. Use a drill to create pilot holes for the screws, then attach the hook securely to the wall or surface of your choice.
Pay attention to proper placement and spacing, ensuring that the hook is level and securely anchored. Step back and admire your handiwork once it’s in place!
Maintenance Tips
To keep your wooden hook looking its best, following are some maintenance tips
– Periodically clean it with a damp cloth to remove dust and debris.
– Avoid exposure of wooden hooks to excessive moisture or direct sunlight, as this can cause damage over a period of time.
– If the wood begins to look dull or worn, consider reapplying a fresh coat of sealant or wood finish to rejuvenate its appearance. With proper care, your wooden hook will serve you well for years to come.
Creative Ideas for Wooden Hooks
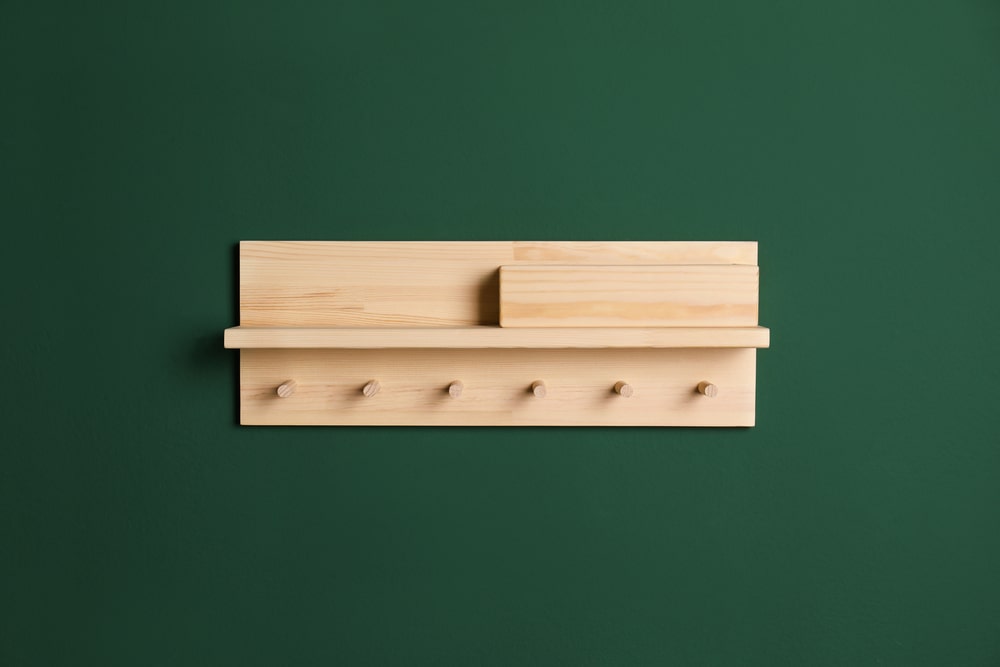
Wooden hooks can be used in a variety of creative ways beyond their traditional function. Consider incorporating multiple hooks into a decorative coat rack, or using them to hang plants, artwork, or kitchen utensils.
Experiment with different wood types, shapes, and sizes to create unique hooks that reflect your personal style and taste.
Benefits of DIY Wooden Hooks
Following are some benefits of DIY Wooden Hooks
Customization: You can design the hook exactly how you want it. This includes the size, shape, and style to perfectly match your needs and the décor of your space. Want a rustic hook for your entryway or a sleek, modern one for your bathroom? You can create it yourself!
Cost-effective: Wooden hooks can be expensive to buy, especially if you’re looking for something unique. By making your own, you can save money and potentially use scrap wood you have lying around.
Sense of accomplishment: There’s a great feeling that comes from creating something yourself. A DIY wooden hook is a functional piece of art that you can proudly display in your home.
Eco-friendly: Wood is a renewable resource, and making your own hook is a great way to reduce waste. You can also use reclaimed wood to add a touch of rustic charm to your project.
Easy to make: DIY wooden hooks are a great project for beginners. There are many simple designs that can be made with just a few tools and basic woodworking skills.
Safety Precautions
Throughout the crafting process, it’s essential to prioritize safety to prevent accidents and injuries. Always wear protective gear such as gloves, goggles, and a dust mask when working with wood and power tools.
Take care to follow proper safety procedures when using sharp tools and machinery, and be mindful of your surroundings at all times. If you’re unsure
If a particular task or technique is safe, seek guidance from experienced woodworkers or instructional resources.
Common Issues while making Wooden Hook
Despite your best efforts, you may encounter some challenges during the crafting process. Here are solutions to common problems you may face:
Uneven Surfaces: If your hook has rough or uneven surfaces, use finer grit sandpaper to smooth out imperfections gradually. Take your time and sand in small, circular motions for optimal results.
Splintering Wood: To prevent splintering while carving, ensure your tools are sharp and use light pressure when cutting. If splintering does occur, carefully sand the affected area until smooth, then proceed with caution.
Difficulty Shaping Curves: Carving smooth curves can be challenging, especially for beginners. Start by outlining the curve with a pencil, then slowly carve away small sections of wood until you achieve the desired shape. Patience is key!
Cracks or Splits: If you notice cracks or splits in the wood, try filling them with wood filler or epoxy resin before sanding and finishing. This will help reinforce the integrity of the hook and prevent further damage.
Loose or Wobbly Installation: If your hook feels loose or wobbly once installed, double-check that the screws are securely tightened and that the pilot holes are the appropriate size. You may need to reposition the hook or use additional hardware for stability.
FAQ’s (Frequently Asked Questions)
1. Can I use any type of wood to make a wooden hook?
Ans. While you can technically use any type of wood, it’s best to choose a sturdy hardwood such as oak, maple, or walnut for durability and strength.
2. Do I need to have prior woodworking experience to make a wooden hook?
Ans. Not necessarily! This project is suitable for beginners, but it’s essential to familiarize yourself with basic woodworking techniques and safety precautions before getting started.
3. How long does it typically take to make a wooden hook?
Ans. The time it takes to complete a wooden hook can vary depending on your skill level, the complexity of the design, and the tools available. On average, it may take a few hours to a full day to finish.
4. Can I customize the size and shape of my wooden hook?
Ans. Yes, you can feel free to experiment with different sizes, shapes, and designs to create a hook that meets your specific needs and complements your decor.
5. What’s the best way to hang my wooden hook securely?
Ans. Use sturdy screws and anchors suitable for the type of wall or surface you’re attaching the hook to. Ensure the hook is level and securely anchored to prevent accidents or damage.
Read More:- How to Apply Linseed Oil on a Wooden Mallet
Conclusion
Crafting a wooden hook is a life simplifying process that allows you to unleash your creativity while adding functional beauty to your space. By following the steps outlined in this guide, you can create a custom hook that reflects your personal style and meets your practical needs.
Remember to prefer safety throughout the process and take your time to ensure precision and quality. Whether you’re a seasoned woodworker or a novice DIY enthusiast, making your own wooden hook is a satisfying project that yields both practical and aesthetic rewards.
So roll up your sleeves, grab your tools, and embark on this woodworking adventure. Before you know it, you’ll have a stunning wooden hook that you can proudly display in your home or give as a thoughtful handmade gift.