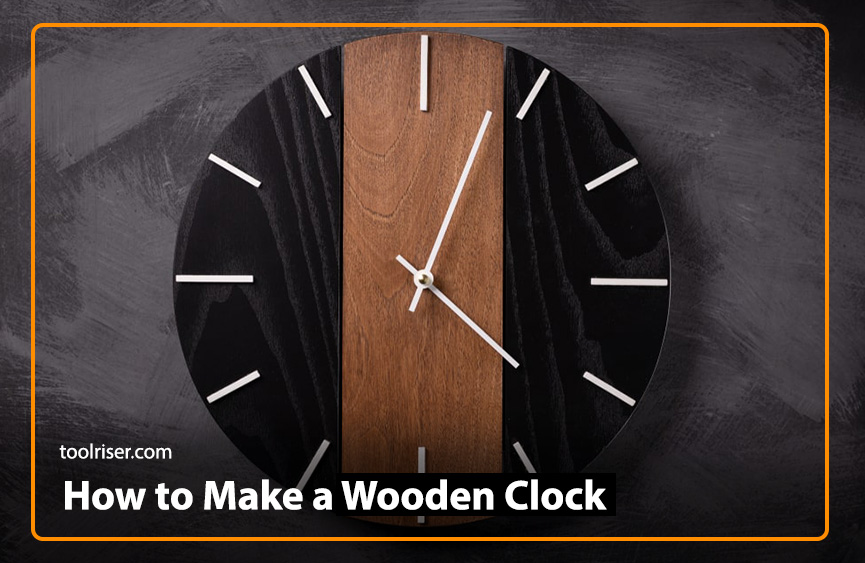
How to Make a Wooden Clock: A Complete Step-by-Step Guide
Wooden clocks are a modern rising trend and one of the best products for the home decor category. Creating a wooden clock is not only a rewarding Do-it-yourself DIY project but also offers you a chance to make a beautiful, unique, and timeless piece that can enhance the aesthetics of your room or even become a cherished gift. This guide aims to walk you through the process of making a wood clock from start to finish.
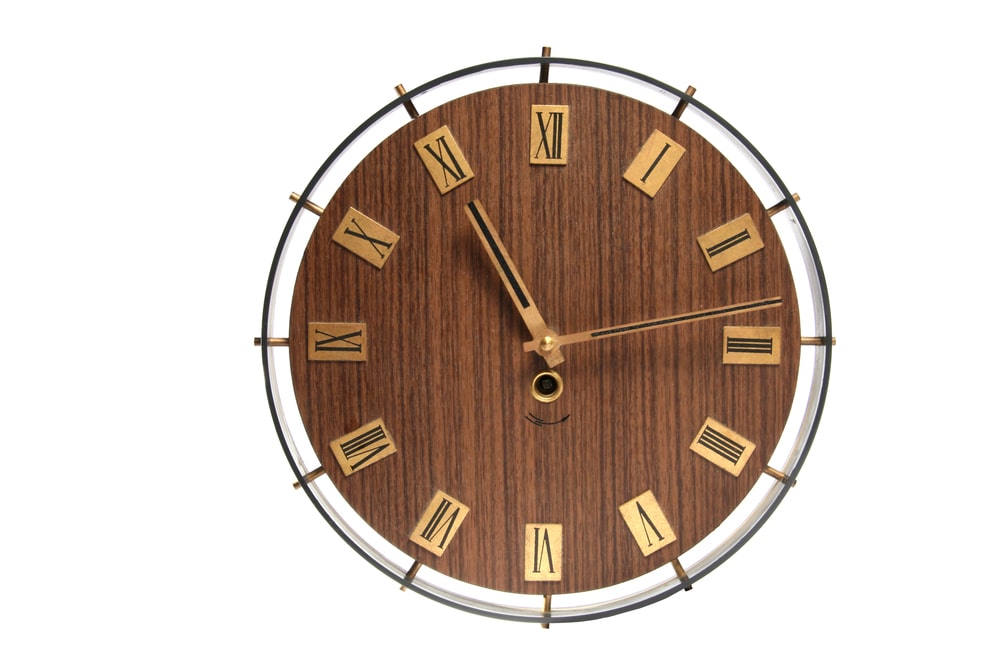
Allure of Wooden Clock
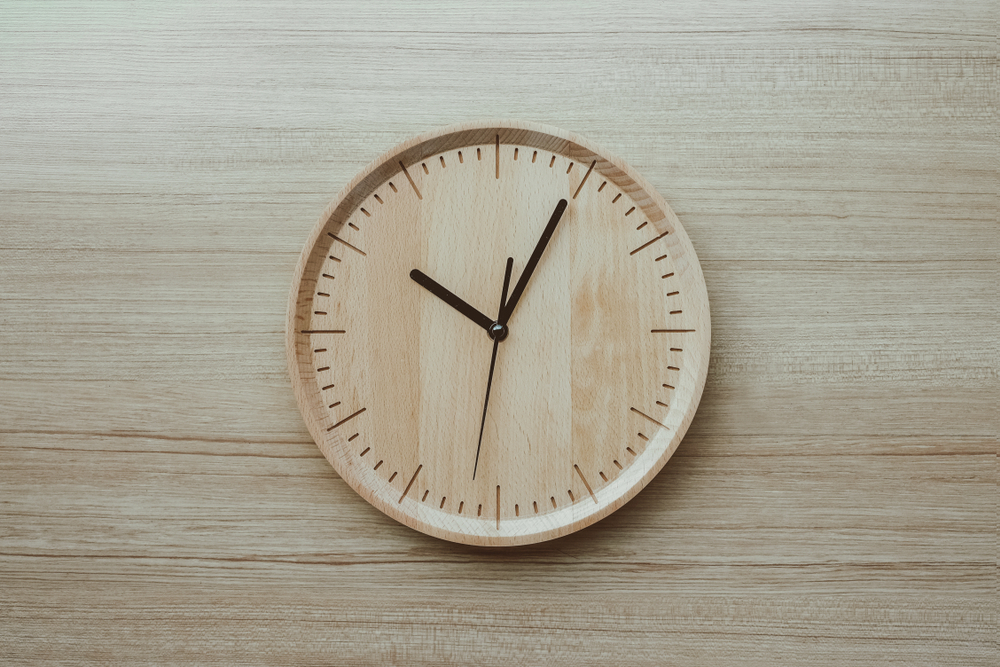
Warm Aesthetics: Wood’s natural grain adds warmth and character to any space.
Durability: Well-crafted wooden clocks can last for generations.
Versatility: Designs range from minimalist to ornate, complementing various decors.
Eco-Friendly: Wood is a renewable resource, making it a sustainable choice.
Tools and Materials Required:
Before discussing the complete procedure of making a wood enclock, let us mention the basic tools and materials required.
Tools:
- Jigsaw or scroll saw
- Drill with assorted bits
- Sandpaper or orbital sander
- Wood clamps
- Screwdriver
- Paintbrushes or wood stain applicator
Materials:
- Wooden slab or pre-cut wooden circle
- Clock movement kit (including hands, motor, and hardware)
- Wood glue
- Sandpaper (of various grits)
- Wood stain or paint
- Hanging hardware
Step-by-Step Guide: A Complete Procedure
Step 1: Select Your Wood
Choose a wooden slab or pre-cut circle that fits the desired size and thickness of your clock. Consider the wood grain and natural patterns when selecting your piece for a truly unique clock.
Step 2: Cutting the Shape
If you’re not using a pre-cut piece, mark your clock shape on the wood. Use a jigsaw or scroll saw to carefully cut out the shape. Remember to wear safety equipment and take your time for a smooth edge.
Step 3: Sanding
Using sandpaper with progressively finer grits until the surface is smooth, sand the wood’s edges and surface. Take extra care to inspect the edges and any flaws.
Step 4: Drilling the Center Hole
Determine the center of your clock face, and use a drill to make a hole for the clock mechanism. Ensure the hole is of the correct size for your clock kit’s central shaft.
Step 5: Applying Finish
Apply a wood stain or paint to your clock face according to your preference. Use even strokes for a smooth finish, and allow it to dry completely. Consider sealing the wood with a clear sealer for durability.
Step 6: Assembling the Clock Mechanism
Follow the instructions on your clock movement kit to assemble the mechanism. This usually involves attaching the movement to the back of the clock face, threading the central shaft through the hole, and attaching the clock hands in order.
Step 7: Adding Hanging Hardware
Attach a hanging kit to the back of your clock to allow it to be displayed on a wall. Ensure it’s securely attached to support the weight of the clock.
Step 8: Setting the Time and Hanging
Insert a battery into the clock mechanism, set the correct time, and hang your wooden clock in your chosen spot.
If you are interested in the process of how to make a wooden ladder, click here.
FAQ’s:
1. What kind of wood is best for making a wooden clock?
A: Hardwoods like oak, maple, or walnut are great for durability and finish, but softer woods like pine can also be used for a rustic look.
2. Can I make a clock without power tools?
A: While power tools make the process quicker and smoother, you can use hand tools like hand saws and manual drills, though it will require more effort and skill.
3. How do I ensure the clock mechanism fits my wood thickness?
A: When purchasing your clock movement kit, check the maximum thickness it can accommodate and choose your wood accordingly.
4. What if my clock isn’t working after assembly?
A: Check the battery, ensure the hands are not too tight or touching each other, and make sure the mechanism is properly attached to the wood.
5. Can I customize my wooden clock with numbers or designs?
A: Absolutely! You can paint, carve, or use wood-burning techniques to add numbers, letters, or any designs you like.
6. Where can I find a clock movement kit?
A: Clock movement kits can be found at most craft stores, online retailers, or specialty clock parts suppliers.
Final Words
Wooden clocks offer an exceptional charm, gracing homes with natural beauty and functionality. They come in various styles, from rustic farmhouse designs to sleek modern pieces. In this blog post, we covered thatch and every method. With good skills and precision, you can create a functional work of art that showcases your woodworking skills and personal style. Enjoy the process and the satisfaction of seeing your handmade clock ticking away!