How to Apply Danish Oil for Woodworking: A Complete Guide 2024
What is Danish Oil ?
Danish oil is a popular finish for woodworking projects due to its ease of application, beautiful finish, and ability to enhance the natural beauty of wood. In this guide, we’ll walk you through the steps of using Danish oil for woodworking, along with the tools and materials you’ll need to achieve professional results.
Steps to Apply Danish Oil for Woodworking
Following are the steps involved in the process of application of Danish oil on woodworks.
- Prepare the Wood Surface
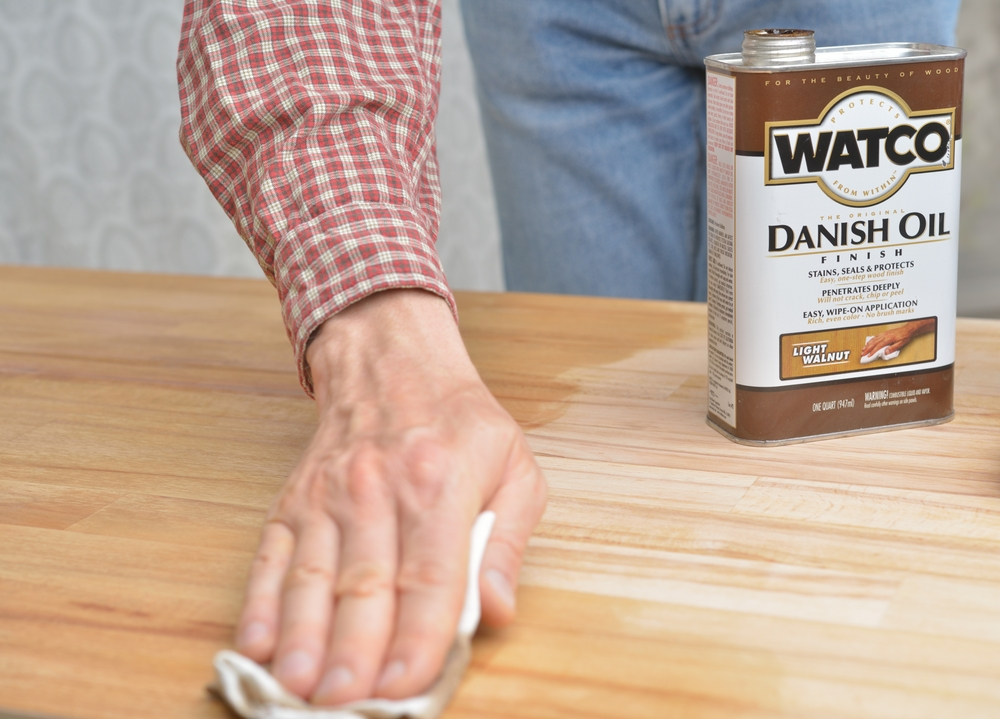
- Apply the Danish Oil
- Allow Drying Time
- Apply Additional Coats
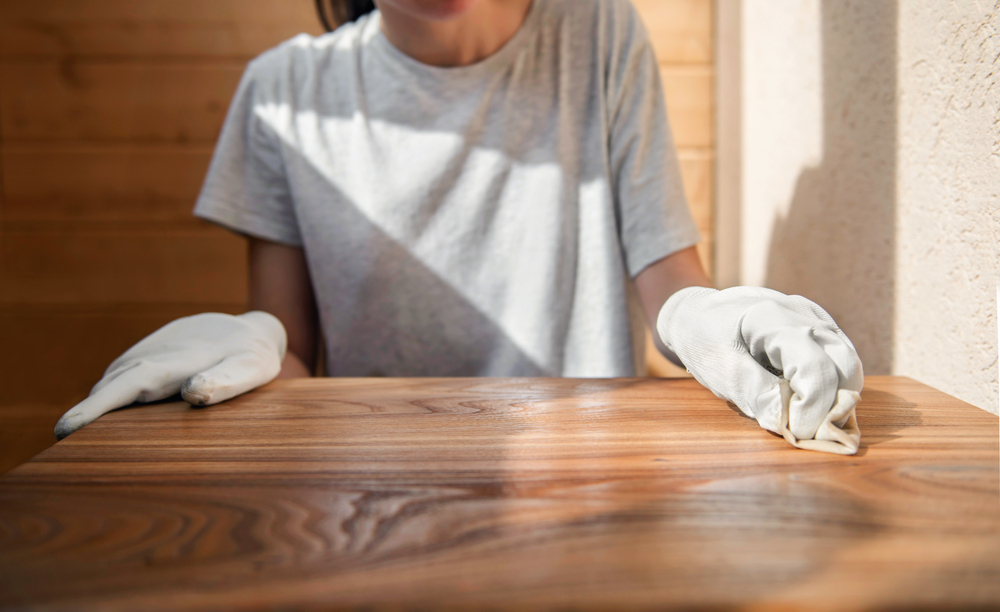
- Buff the Surface
- Final Inspection and Maintenance
Tools and Materials Required
- Danish Oil
- Clean, lint-free cloths or applicator pads
- Sandpaper (various grits)
- Sanding block or orbital sander (optional)
- Mineral spirits or paint thinner (for cleanup)
- Gloves (optional)
- Dust mask or respirator (for sanding)
- Well-ventilated workspace
Complete Process Step by Step
Prepare the Wood Surface
Start by ensuring the wood surface is clean and free of any dust, dirt, or previous finishes. If necessary, sand the wood with progressively finer grits of sandpaper to achieve a smooth surface.
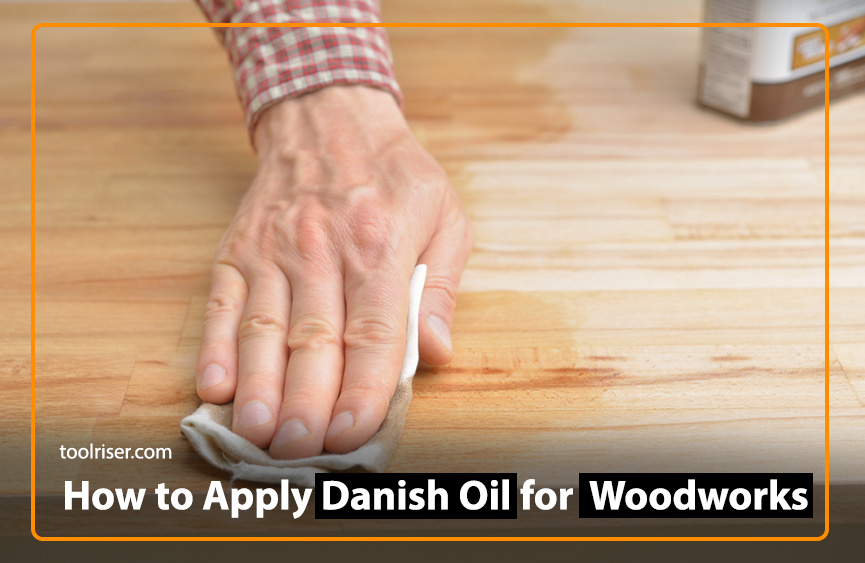
Apply the Danish Oil
Using a clean cloth or applicator pad, apply Danish oil to the wood surface in long, even strokes, following the direction of the wood grain. Work in small sections to ensure thorough coverage.
Allow Drying Time
Let the Danish oil penetrate the wood for the recommended amount of time specified on the product label, typically around 15-30 minutes. Avoid over-saturating the wood, as this can lead to blotchy or uneven results.
Apply Additional Coats
It is an optional step. If you want more shine and protection, you can add upon more coats of Danish oil. Just make sure each coat dries completely before adding the next one, and lightly sand between coats to help them stick better.
Buff the Surface
Once the final coat of Danish oil has dried, use a clean cloth to buff the surface gently, removing any excess oil and revealing the natural luster of the wood.
Final Inspection and Maintenance
After the Danish oil has fully cured (typically 24-48 hours), inspect the wood surface for any imperfections or areas that may require touch-ups. To maintain the finish, periodically apply a thin coat of Danish oil and buff as needed.
Frequently Asked Questions (FAQs):
1. Can Danish oil be used on all types of wood ?
Ans. Yes, Danish oil is suitable for use on most types of wood, including hardwoods and softwoods.
2. How many coats of Danish oil should I apply ?
Ans. The number of coats depends on the desired level of sheen and protection. Typically, 2-3 coats are sufficient. However, you can apply additional coats if you prefer a deeper finish.
3. How long does Danish oil take to dry ?
Ans. Danish oil typically dries within 15-30 minutes after application, but drying times may vary depending on factors such as temperature, humidity, and wood porosity. Allow the oil to dry
4. Can I apply Danish oil over existing finishes?
Ans. In most cases, Danish oil can be applied over existing finishes such as varnish or shellac. However, it’s essential to ensure the surface is clean and free of any wax or polish residue. Lightly sanding the surface can also improve adhesion.
5. How do I clean up Danish oil and applicators after use?
Ans. To clean up Danish oil and applicators, use mineral spirits or paint thinner. Wipe down any spills or excess oil with a cloth dampened with mineral spirits, and then wash the applicator pads or cloths with soap and water
Also Read:- Top 5 Best White Satin Paint for Woodwork: 2024 Review
Final Thoughts
Using Danish oil for woodworking is a straightforward process that can yield stunning results, enhancing the natural beauty of wood while providing durable protection. By following these steps and guidelines, you can achieve a professional-quality finish on your woodworking projects. Imagine you start with a plain piece of wood, nothing fancy. But when you add Danish oil, it’s like a makeover for your project. Suddenly, the wood looks rich, warm, and just plain stunning. Whether you’re a seasoned pro or just starting out, using Danish oil is like going on an adventure. Each coat brings out more of the wood’s beauty, turning your project into a masterpiece. So, grab your brush and let Danish oil work elevate your woodworking to new heights.